各種工具使用方法
用來記錄各種小工具使用方法
Dotfile
環境
- macOS
安裝stow
brew install stow建立dotfile並且移動檔案
mkdir -p ~/dotfiles/nvim/.config
mv ~/.config/nvim ~/dotfiles/nvim/.config/
# 其他也可一起搬:kitty、zsh、git…
# mv ~/.config/kitty  ~/dotfiles/kitty/.config/
# mv ~/.zshrc         ~/dotfiles/zsh/.zshrc
佈署(建立符號連結到 $HOME)
stow -d ~/dotfiles -t ~ nvim
# 之後要佈署更多套件:
# stow -d ~/dotfiles -t ~ kitty zsh git
部署上Github
CSV
- 檢查CSV檔案格式
csvclean --enable-all-checks ./[file] -v- 進行修正
csvcut -c 1-10 ./2.csv > ./4.csv -v #[1-10]代表只保留前10columnLeetcode nvim
config in lazy vim
- plugin/init.lua
{
  "kawre/leetcode.nvim",
  dependencies = {
    "nvim-telescope/telescope.nvim",
    "nvim-lua/plenary.nvim",
    "MunifTanjim/nui.nvim"
  },
  lazy = false;
  opts = {}
}- ./init.lua
require("leetcode").setup({
  lang = "cpp",  -- 你可以改成 "python" 或其他語言
  storage = { home = vim.fn.expand("$HOME") .. "/.leetcode" }
})
login
使用F12查看Response Header中的SetCookie
- 注意
- 因為Cookie過長所以會切成兩段,以Set-Cookie進行切分
- 內容值要看清楚以下為示範內容
csrftoken=[cookie value];LEETCODE_SESSION=[leetcode_session value]; Domain=.leetcode.com; expires=Wed, 05 Mar 2025 16:38:03 GMT; HttpOnly; Max-Age=1209600; Path=/; SameSite=Lax;Git
- git pull
- git branch
[name]# new branch - git checkout
[name]# 切換成name的branch - git add
[參數] - git commit -m
[msg]
if not want to merge only want to push on new branch which you have been create
git push --set-upstream origin [branch name]
if want to merge
- git checkout origin main
- git merge [branch name]
- git push origin main
- git branch -d
<branch_name>
更新被拒絕,因為您目前分支的最新提交落後於其對應的遠端分支。
- 先從遠端fetch後merage再push
git fetch origin
git merge origin/master
git push
git branch -d <branch_name>- 強制push
git push -f- 刪除git add
git rm --cached -r -f .Claw Cloud
優點:
- 一個免費雲端,使用Github帳號註冊可以獲得每月五美金的額
- 部署直接使用Docker image
- 不用自己設置子網(EC2需要),簡單方便部署
缺點:
- 伺服器卡頓
- 自由度低,很多設定都是被鎖死的
- 環境基於k8s,config需自行設定configMap,相較於Vercel學習難度較高
開始部署
準備
- 編寫Dockerfile
FROM golang:1.24 AS base

WORKDIR /app

COPY go.mod .

RUN go mod download

COPY . .

ARG TARGETARCH
RUN GOARCH=$TARGETARCH go build -o main .

FROM gcr.io/distroless/base

COPY --from=base ./app/main .


EXPOSE 8080

CMD ["./main"]
- 將程式build成image
docker buildx build --platform linux/amd64 -t peter123ouob/iotserver:1.1 .- 將image推送給docker hub
docker push peter123ouob/iotserver:1.1- 設定CICD時可以使用helm chart來自定義tag
開始部署
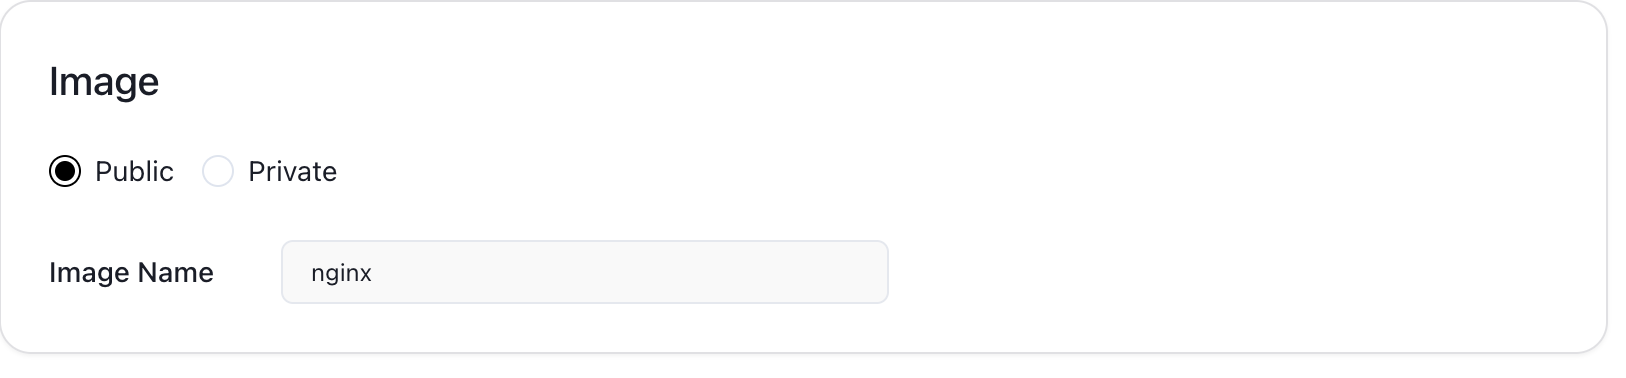
- 點擊App launchpad後有個create app

- 將image改成剛剛部署到docker hub上的
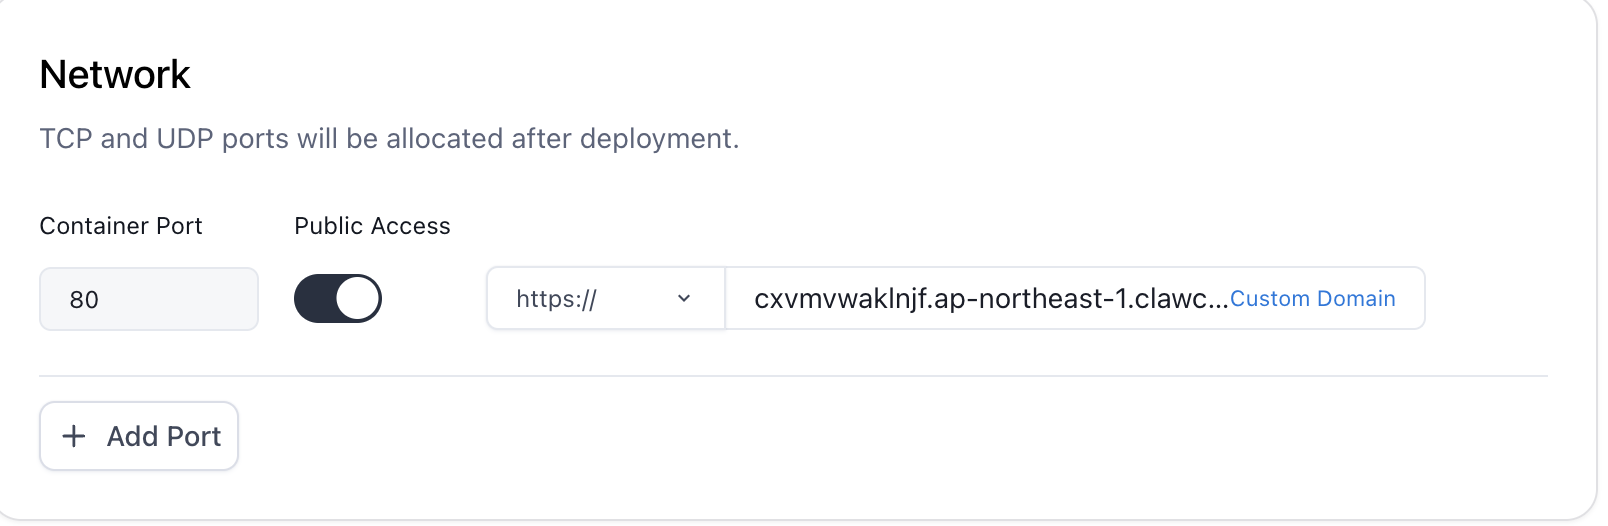
- 設定Public Network
- 查看server狀態

Python venv
新建虛擬環境
python3 -m venv $(Name)進入虛擬環境
source $(Name)/bin/activate接著就可以正常操做python
離開
deactivate